Showing posts with label screen printing on clay. Show all posts

Saturday, January 19, 2013

Silk-screening on Tall surfaces

Yes, I mostly have done stencilled decoration on "tall" things, such as vases, the one below on left is about 9 inches tall.  
 but really, if you lay the piece on it's side, it's just another curved thing.
these are all just bisque,

layers of images,

some of my screens


Wednesday, October 17, 2012

A Little More Each Day

And it's Mud Colony time again! see what other potters are doing, here

Well now that my kiln is operational again, I've been firing it pretty steadily with the stuff I had been accumulating from making things all summer.  It's pretty exciting to see the colors come to life, and I can't stop feeling so happy about the success of the clear glaze.
Today was a gorgeous autumn day, so I was able to take some photos outside.
What I need to do is to try to analyze which colors work well together, what shapes I want to pursue,

two similar cups, with the same color combinations, although the mugs are different shapes, they are about the same size
tray, about 5" x 9", this sort of sagged in the middle,
I liked the way the greens interacted on the silk-screened part of this piece,
I like the buttery yellow background, and the rest is brushwork on this bowl  I might try to use this pattern again
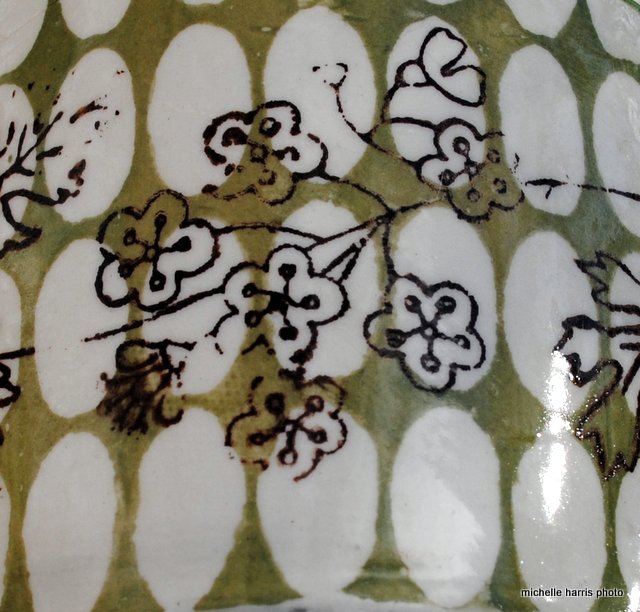
close-up of a couple of layered screens.  I like using some basic shapes as backgrounds.  I also think that the dark brown underglaze is one of the most useful colors.
an artsy shot from above, of some of the little slab vases.  I really enjoyed making these shapes, plus they give a great surface for all sorts of decorative techniques
this shows just how luscious the glaze is. 
thrown mug, hand-built mug.  The glaze covers the rims of the thrown pieces really nicely, but some of the slab pieces are a bit rough on some edges.  I think I need to either smooth them more, or make sure that there is enough glaze on them.  This might also be that the glaze doesn't cover as thickly when there is underglaze on the rim.

handbuilt mug, I like the combo of colors
Maybe I need to make some sort of reference chart to refer to.  It seems that I'm always wanting to make charts...
 Maybe I could pull a lot of info together into a photo collage (or two or three)
four views of one mug. 
 Thanks for stopping by!

Friday, October 12, 2012

Notes on some Glazed stuff

Hello, If you arrived here from the Mud Colony site, thanks for the visit.  If you don't know what the Mud colony site is, you can go to it here.  it is a round-up of some other pottery blogs, and it is fun to see what others are up to each week.

I arrived back in Saskatoon on Tuesday, so I have switched back to the pottery that I do here, and left the clay that I was working on in Savannah there. 
In my absence Richard had picked up the new elements for the kiln, so I immediately installed them on Wednesday morning, and did their first firing as a bisque fire.  That went well, so yesterday I did a glaze firing. 
the unfired glaze makes them all look a uniform white,

It was nice to use the whole kiln, even though it is a little kiln. 
This morning I unloaded it, and these are some of my first impressions. 

the unloading of the kiln, minus the bowl that is stuck to a shelf.

the one on the left was fired earlier, up to a cone 5.  It seems that at the little bit higher temperature, the yellow is a bit less intense.

I like the little scene.  I find that this green turns into a muddy kind of green. I think it is the Amaco velvet underglaze, Leaf Green.  I hope to find a better green that stays a bit more cheery.
Handbuilt mugs.  On the whole, they seem all right.  I like the hollow handle on the cup in the foreground. 

A thrown mug.  The silk screening turned out well on the light blue background.  The pinky red is Amaco's Dark red velvet underglaze.  It is more of a dark pink.

The pinkish area on the mug on the left is the dark red underglaze lightened by adding a bit of white to it.  The one on the right is straight out of the jar.
I like the way this pattern turned out.  I must remember to use it again. 
 Well, those are the little memos to myself. 
I have another glaze load starting to warm as I write. 
On the whole, I'm pretty happy with the new clear glaze.  I had items in the firing where the glaze was applied quite thickly, and others where it was more on the thin side.  You can't really tell the difference, so that is good.  There is only a wee bit of pin-holing, although I tend to be pretty careful to check for that before putting the pots in the kiln, and wiping any air bubbles over. No crazing in sight, so it does seem to fit my clay body really well! Hurray! 
I read an article yesterday about how to take better photos, and so I will be trying to improve my set-up soon. 


Friday, September 28, 2012

Some other pots fom June

When I got to Savannah a few days ago, of course one of the first things I had to do was to go to the clay studio, Savannah's Clay Spot!
Lisa had some stuff that she had fired for me, and so I was of course eager to see it, even though I made it in June, 
the items in the photos here have very little screen printing on them, mostly I was doing slip trailing and paper resist.  i had some fun with lining the insides with colored glazes.
I was also adding a dark wash on some of them, which I sort of like,
However, I think I was putting the clear glaze on too thickly, because it is milky on several of the items.  I am definitely going to go lighter next time I glaze, but I just get so worried that the rims will be rough.
 These two photos on the quilted table runner show that I am quite influenced in my color use by textiles!

Yesterday and today I spent the afternoon at the studio-- making stuff!  I am using a different clay body than before, called Little Loafer's, which is the mid-fire stoneware that is much like the higher firing stoneware, Loafer's Glory. (Both from Highwater Clays in N.C., I think)  So far I like it fine, altho I was quite startled at how fast things dry out here compared to my little studio at home.